Introducing User Targeting
In our previous exercise we enabled a LaunchDarkly feature flag that changed the visual look of our application. We can see a new banner displayed, as well as a logon box.
The ReactJS based application that is currently running in AWS App Runner supports targeting based on several properties
- The entered user name in the logon box
- The device OS connecting to the application
- The browser type connecting
In this exercise, we will configure a second flag that will render a graphic based on the targeted user.
Want to see the feature flag in code? You can see the flag we are creating in this step here on line 24. Remember, you can view this in an IDE by pressing the . key within the GitHub repository.
-
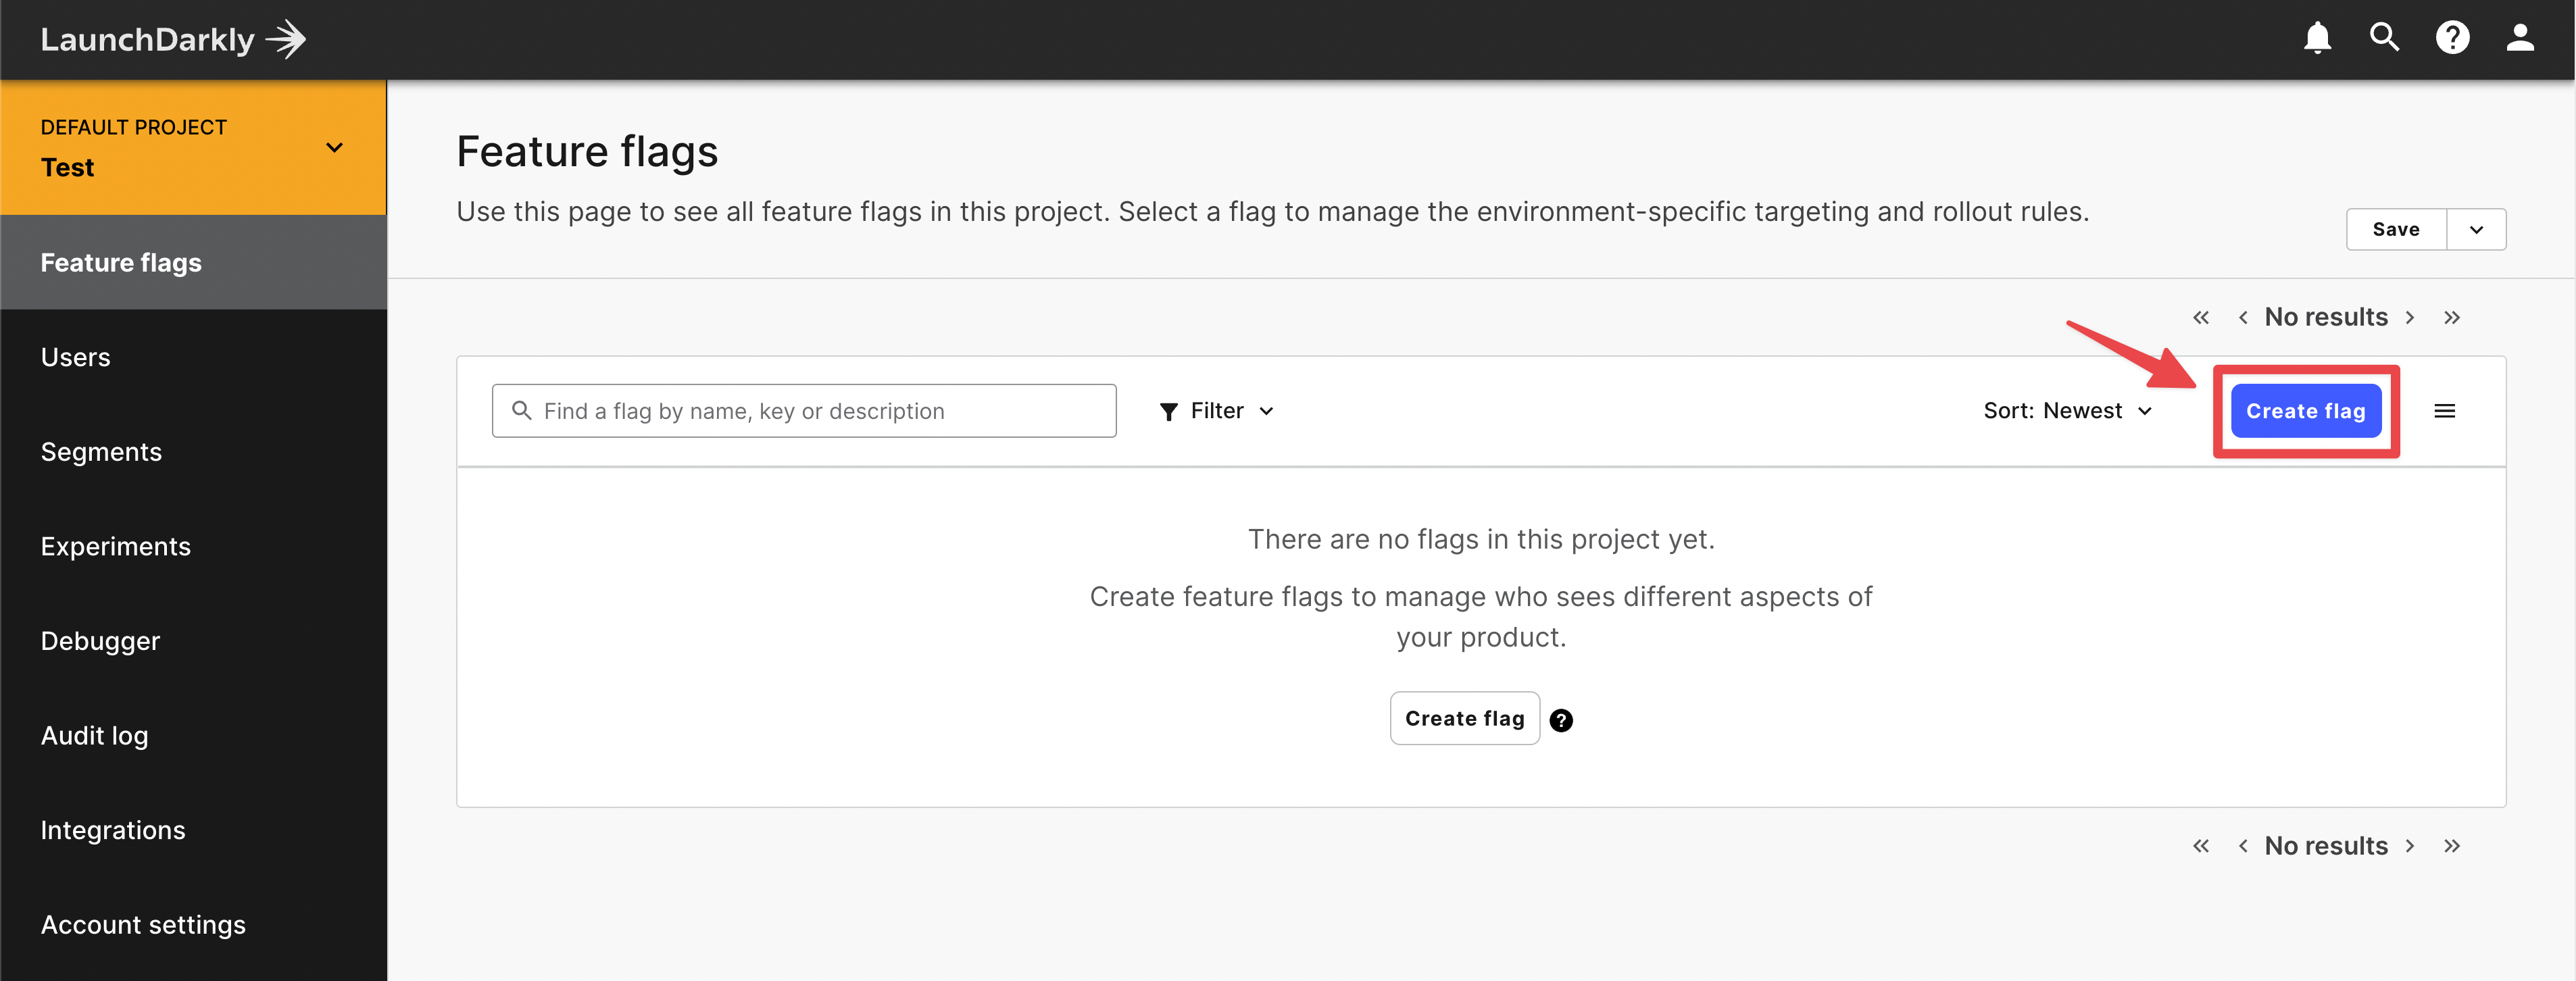
Return to your LaunchDarkly dashboard and click Create flag, this will open a tab for configurations for the flag.
-
Name the feature flag
upperimage(which will also populate the Key with theupperimagevalue). Provide a description, and check the box for SDKs using Client-side ID. The rest of the page can be optionally filled out. Once you’ve completed, select Save flag on the bottom.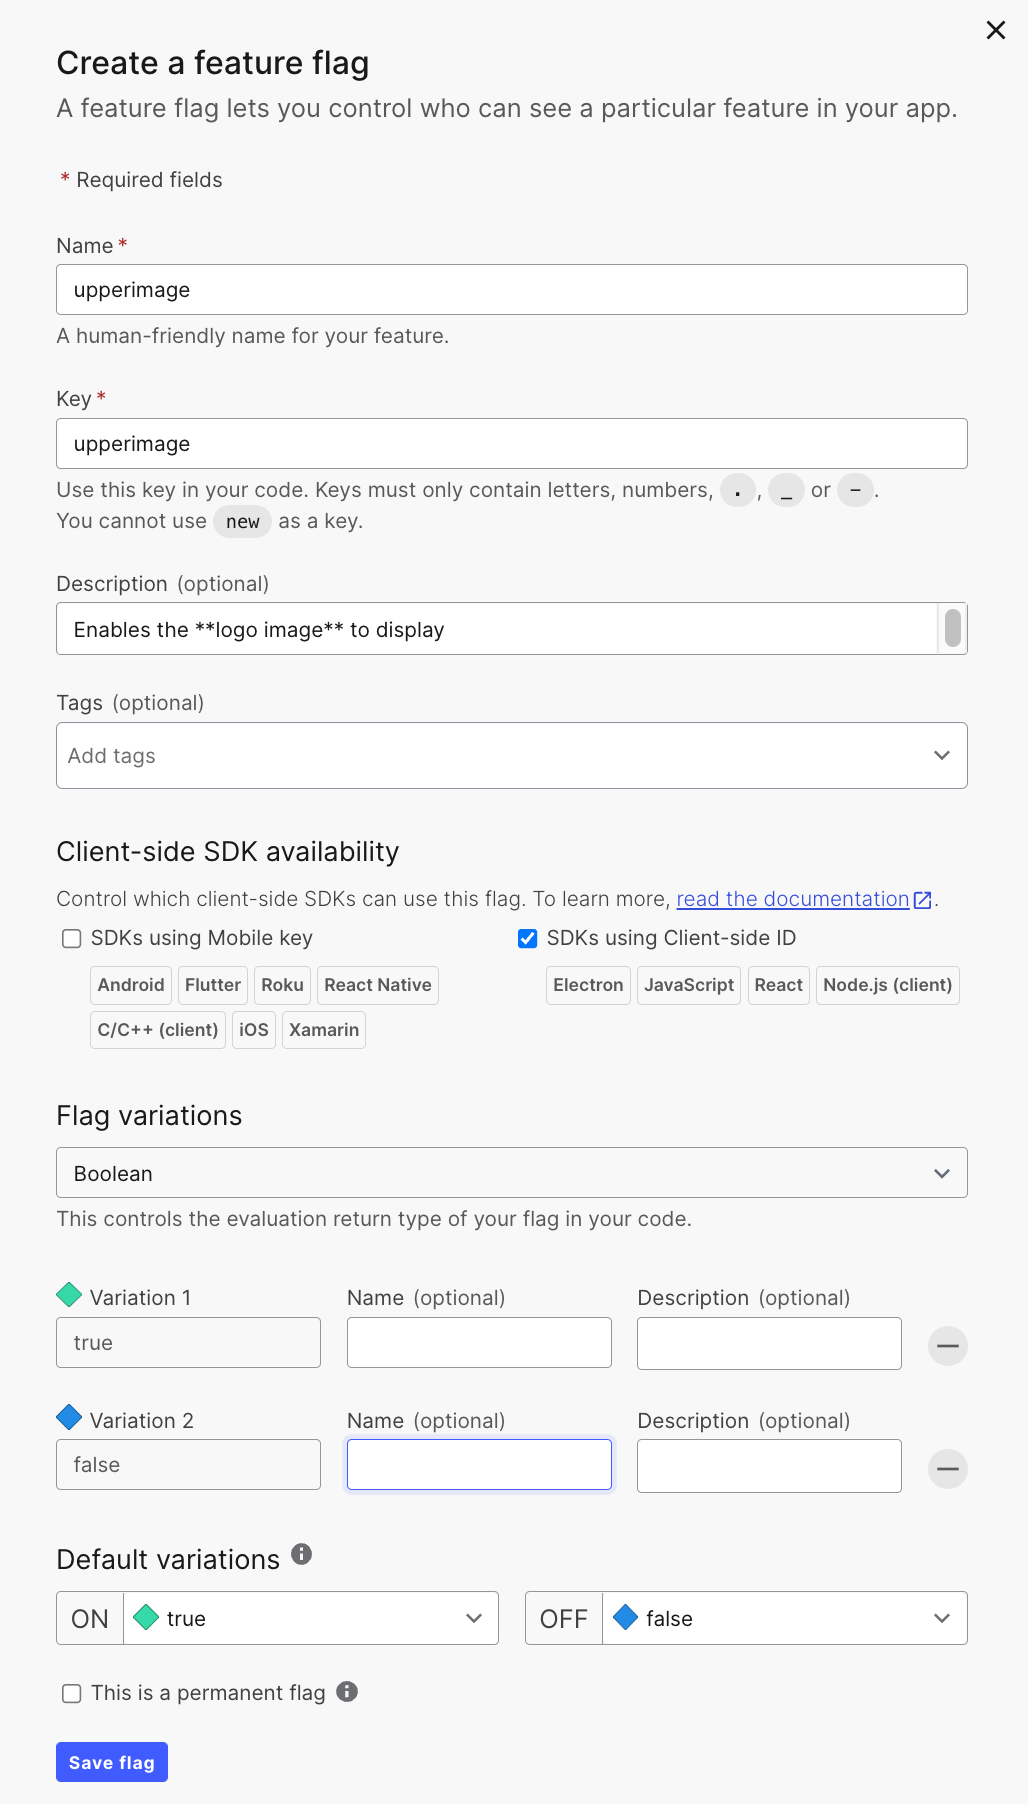
-
Within the feature flag configuration screen, select Add user targets under Individual targeting section, and for the true variation select the drop down arrow and type in your username. Select Add User. Enter a username, for example
workshop-useror any other on your choice.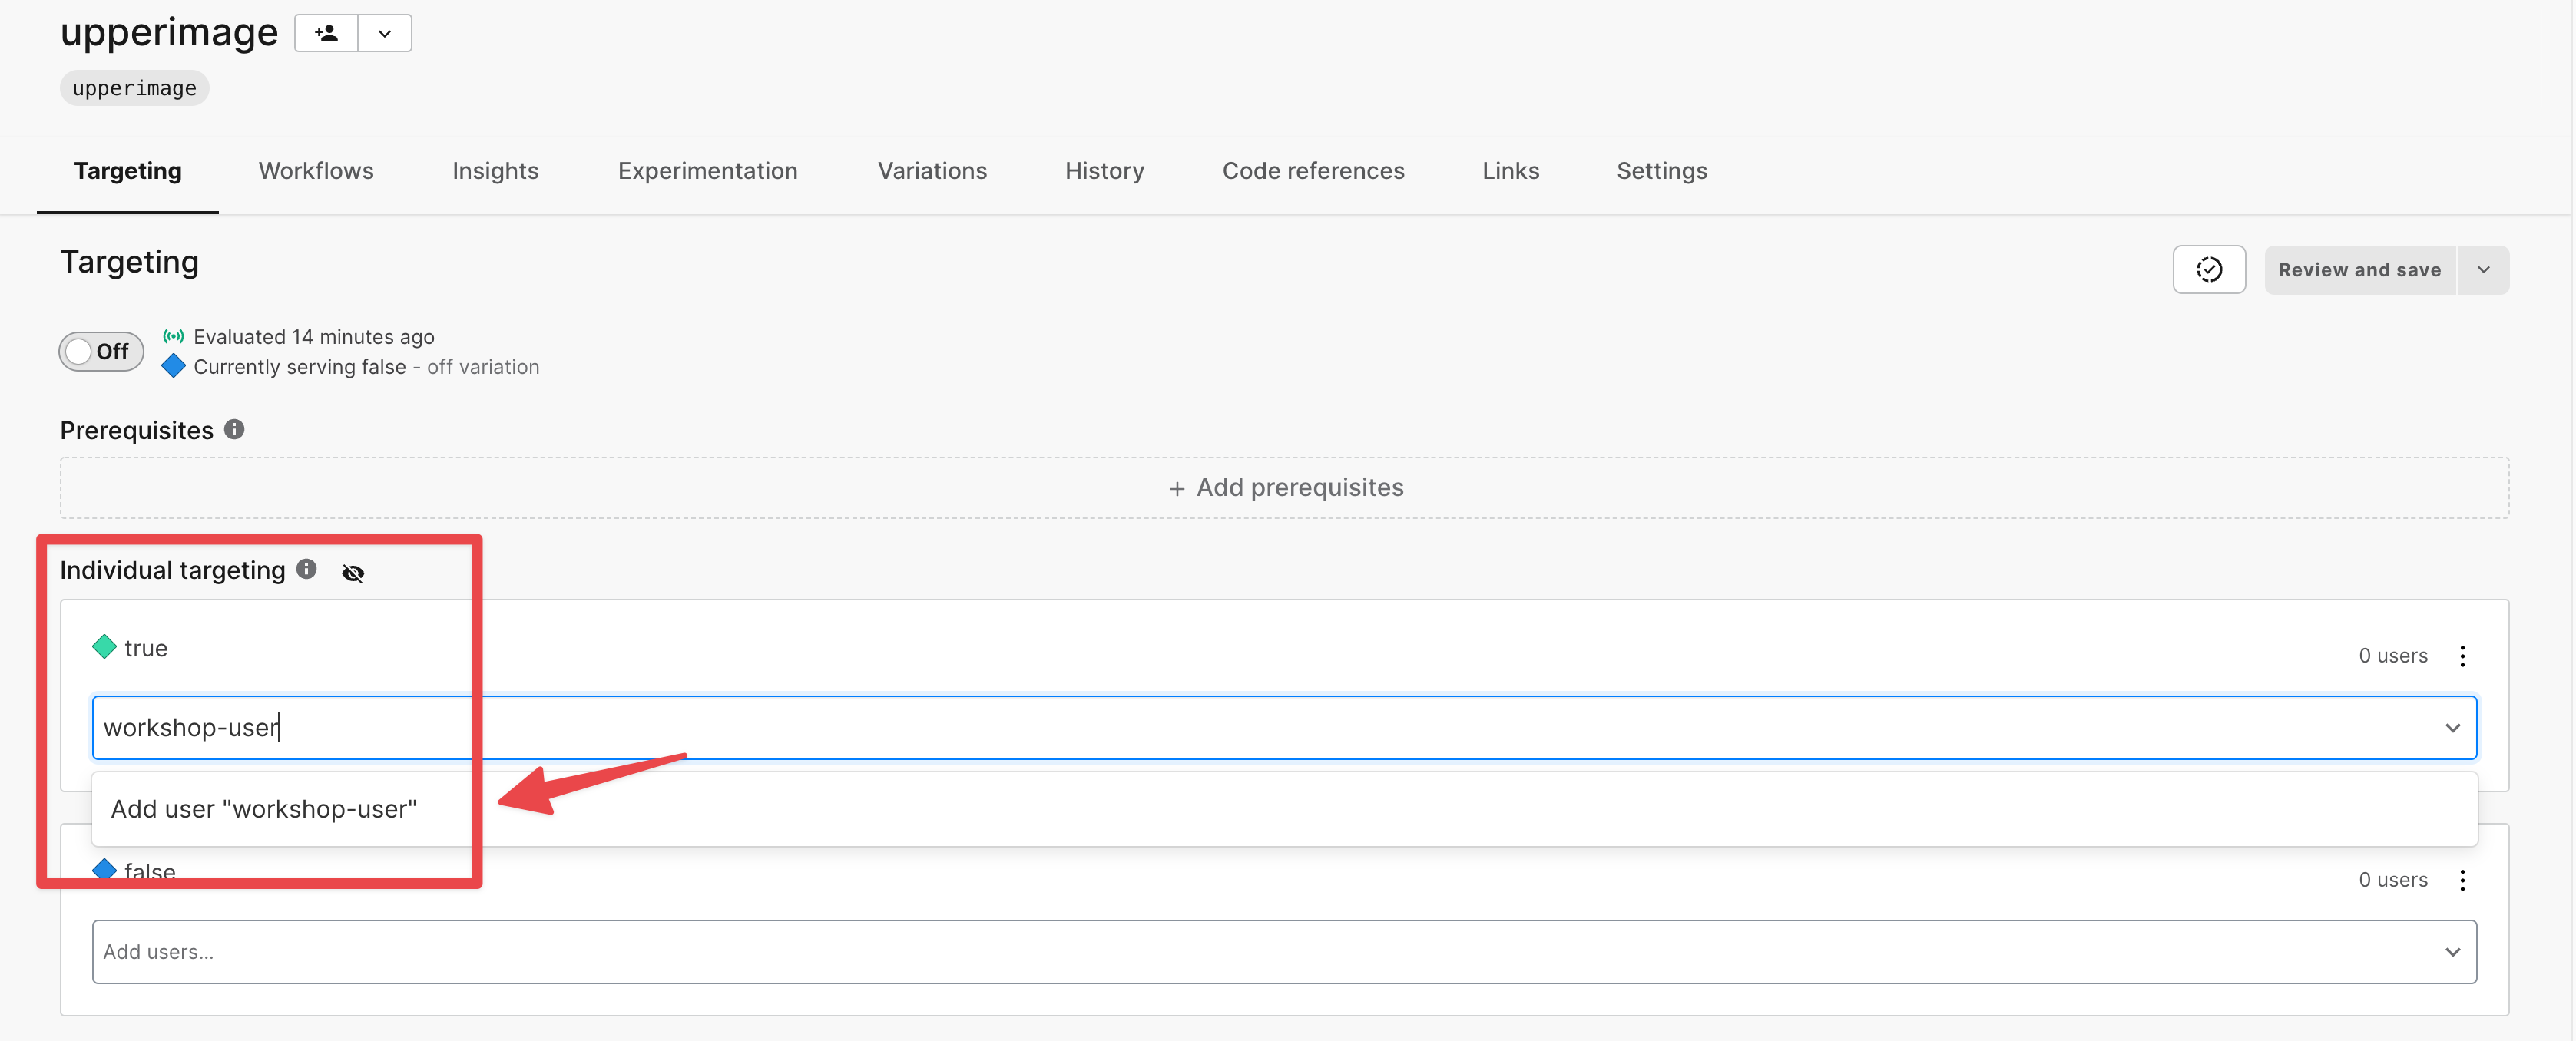
-
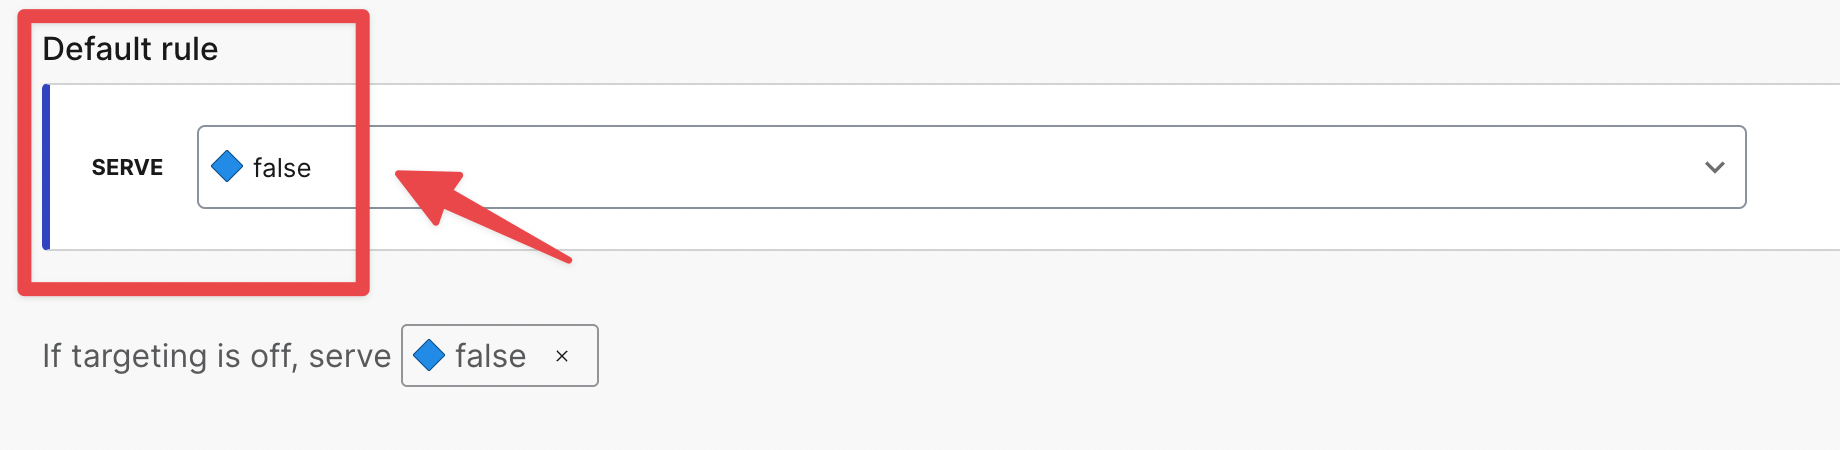
Scroll down to the Default rule section and set SERVE to false. This will ensure that all users accessing the application by default have the feature disabled.
-
Return to the top of the page and enable your feature flag, and select Review and save, confirm and accept your changes.

-
Return to our demo application and enter your username you configured above into the login box and select Submit. You should see the LaunchDarkly Osmo logo display on the screen. This dark launch is only visible to the user you configured, and does not render for any of the other users who access the application.
Learn more about the individual user targeting in LaunchDarkly documentation.